Select Image, Adjustments, Levels
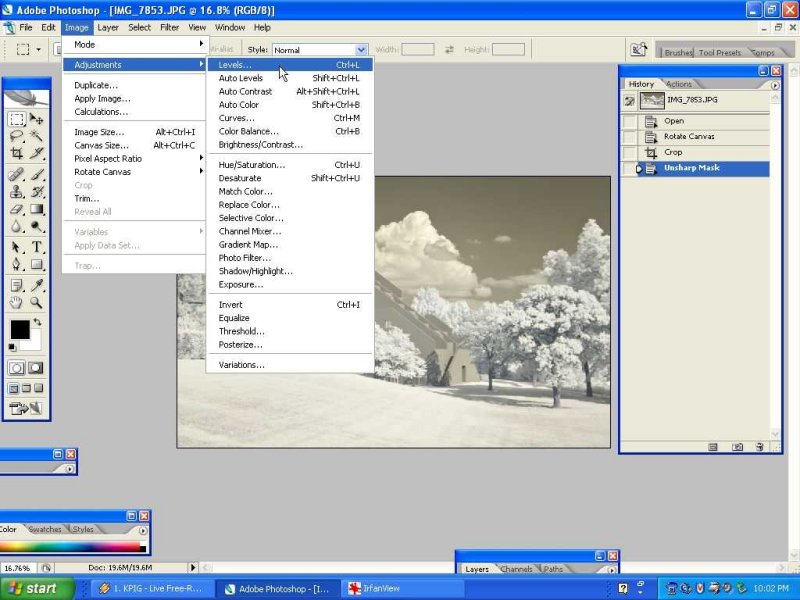
Photoshop opens a Histogram.

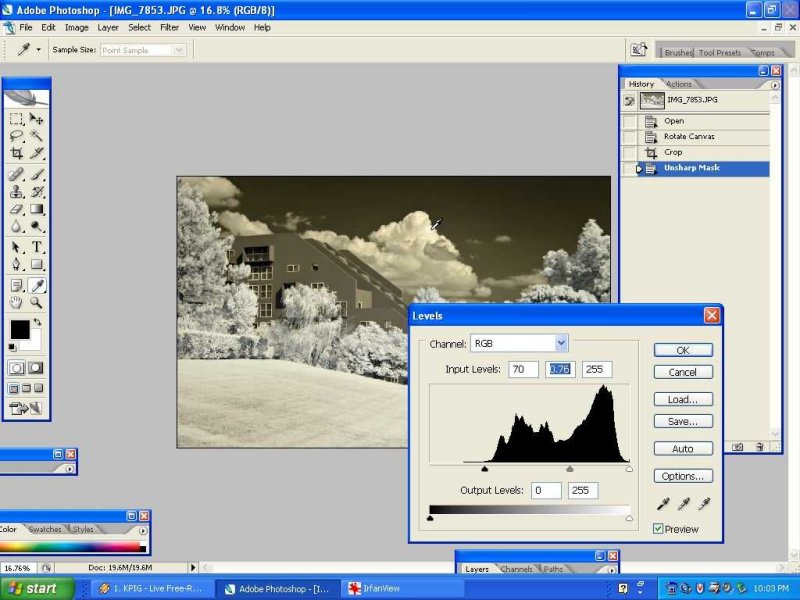
Select and drag the left arrow to approximately where the histogram curve starts upwards.

The arrow on the right side of the histogram was OK for image. It there is no data like there was on the left side, then drag the arrow to where it starts upwards. Since I did not have to move the right arrow, I went ahead with the next step. I grabbed the center Gamma Arrow and pulled it to the right. Watch the preview, and move the Gamma Arrow to where you like the look of the image. You may not want to move this arrow at all. If your image has the tallest peak right in the center of the Histogram, the gamma arrow placed directly under the peak usually looks very good.

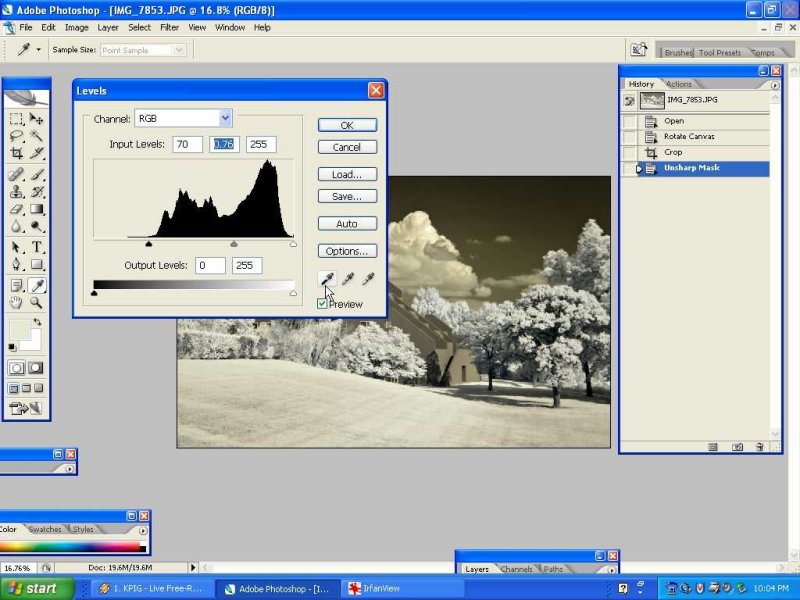
You may or may not want to set White and Black points. You can give them a try and use Undo to remove the change if it does not work well. Notice that the Mouse Pointer is selecting the eyedropper on the right. This eyedropper allows you to set a White Point for the image. Whatever pixel you select in the image will be set to white, and all of the others will be adjusted accordingly. So you want to select an area that you want to be white. Same goes for setting the Black Point. Select an area that you know you want to be Black.

Having selected the White Point eyedropper, I pointed it to the whitest part of the clouds that I could find. My goal was to make the leaves in the trees whiter.
As you can see, selecting the area of the clouds did not affect the image as I wanted, so I again used the tool, this time selecting the lightest point in the tree leaves that I could find. This made the leaves somewhat lighter. Remember the rest of the image is adjusted accordingly. So use this spareingly, and use the Undo if necessary.

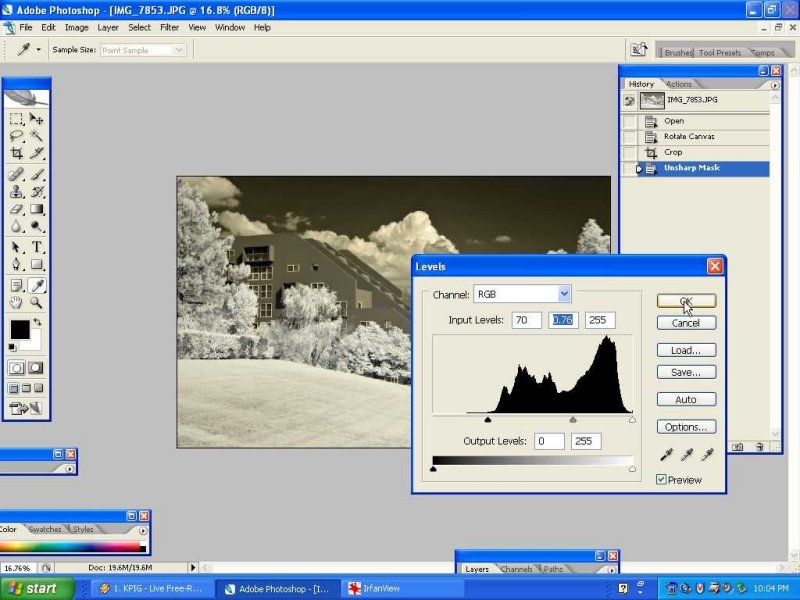
I then selected the Black Point eyedropper.
I selected a very dark area above the window for my black point.

Click on OK to accept the changes.


No comments:
Post a Comment